I’ve noticed something about a lot of my blog posts. At the end of the posts, I say I am gonna continue in the next posts and write about the next part of the subject. Then I never really write that next post. I’m kinda flaky like that.
But not today!
It’s a beautiful Monday morning, I’ve got some delicious white plums cut up, trucks are falling off the bay bridge, and my cup of coffee is almost done brewing. Time to continue the saga of Block 5, the coolest linoleum block ever to be made!
So I finished up the start of the story of Block 5 with the block completely carved. As I was carving the block, I realized that I would like another block to print to add some color to this block. This requires transferring the image from Block 5, the line art, to another block.
To do this, I printed block 5 on a sheet of mylar, as shown below:
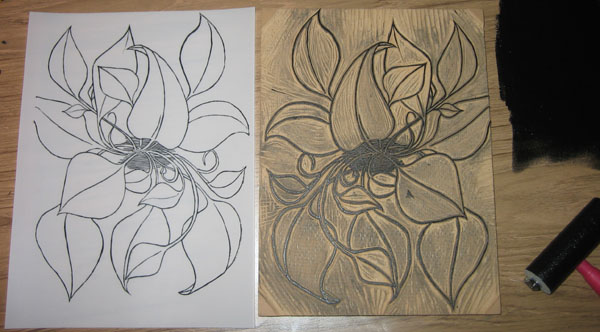
The block is printed on mylar to transfer the image
Mylar is a thin, but rigid plastic material. The ink prints onto the mylar well, because it has a little roughness to the surface, but it does not soak in to the mylar, like ink does on paper. This is perfect for transferring images from one block to another, because the ink does not dry, and stays right on the surface.
I take the sheet of mylar, and press it against the surface of block 6 to transfer the image.
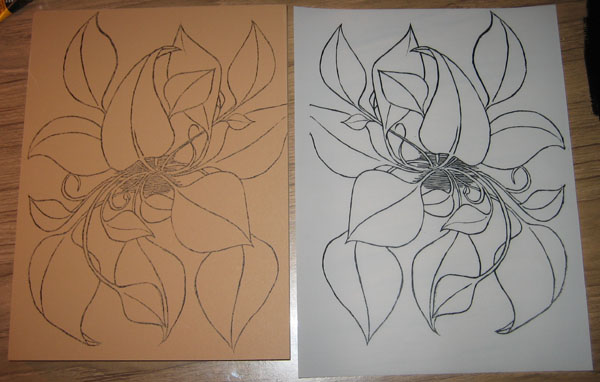
Using the mylar, the image is transfered to a fresh block, Block 6
Since prints print backwards, I have to go through these two steps to get the image on tho the final block correctly. When I first printed block 5, it came out backwards on the mylar. When I press the mylar on block 6, it transfers the image backwards again. Double backwards, is, of course, forwards.
Printmaking Aside: This is pretty much what biog, industrial lithograph machines do, the kind that print magazines, newspapers, etc. The panel that is printed is on one roller, than there is another roller that the image gets printed on. This second roller then prints that ink on to the paper. By transferring the image twice, rather than once, the image comes out the way it looks on the block.
Back to block 6, now I have lines to use as a guide, and I carve up the block to print a flat color behind the line art. Here is block 6 after it has been carved and the ink cleaned up:
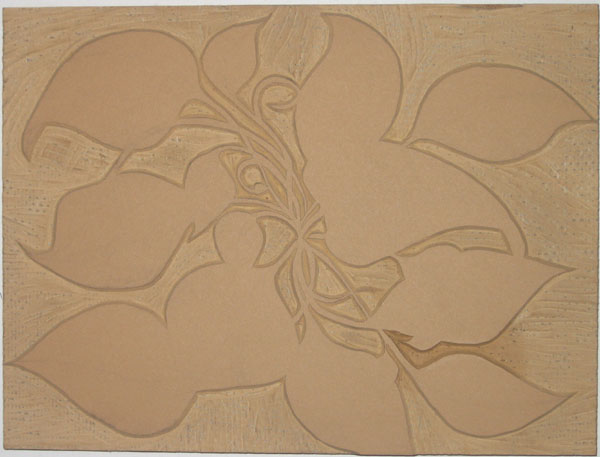
Block 6 is carved and ready to print
So now I’ve got these two blocks. What to do with them. What to do…
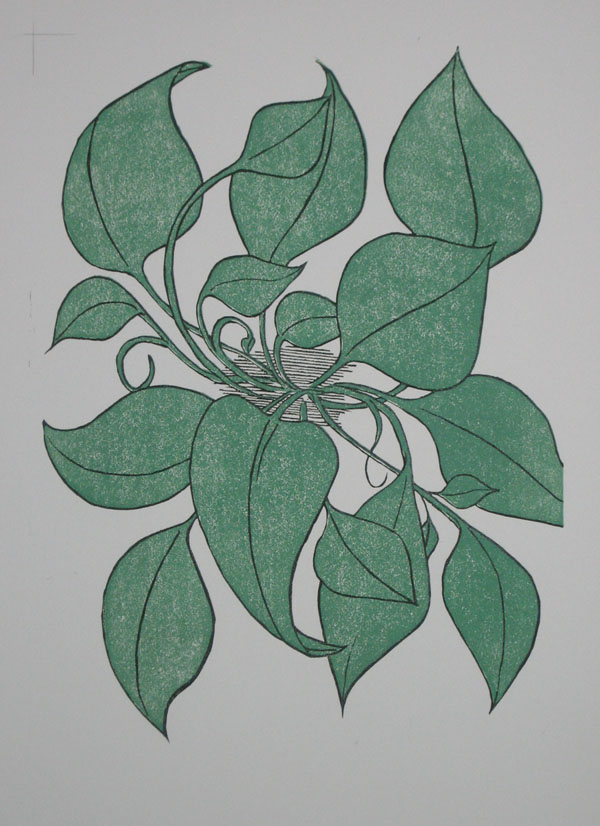
Here’s how Block 5 and Block 6 look printed together:
In the top left corner you will notice some pencil marks. I drew these on the block when I was printing the first block on the paper so that I would know where to line up the second block. It is a pretty crude system, but it worked fairly well. I only lost one print over the weekend to poor print alignment.
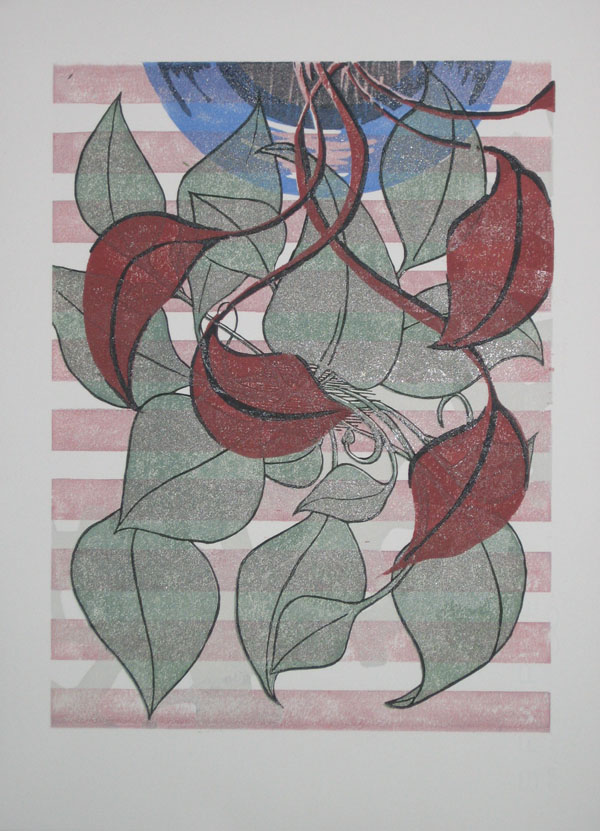
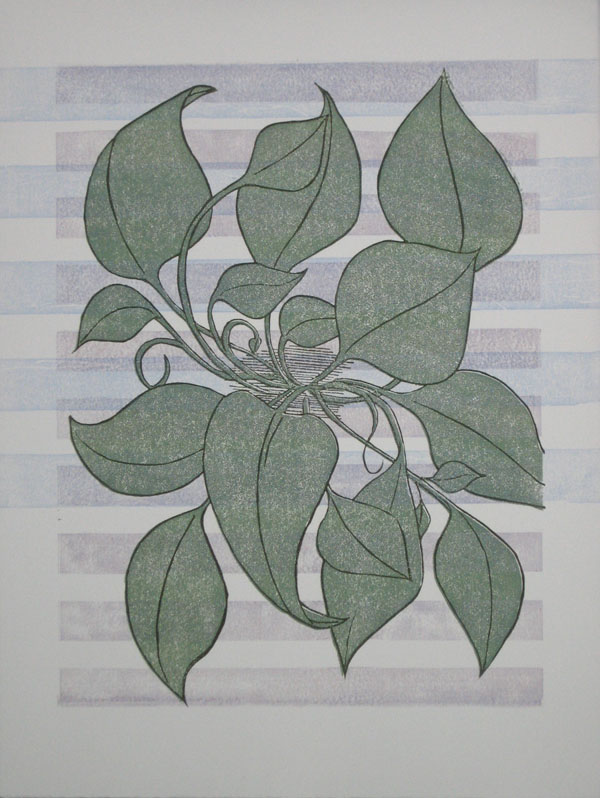
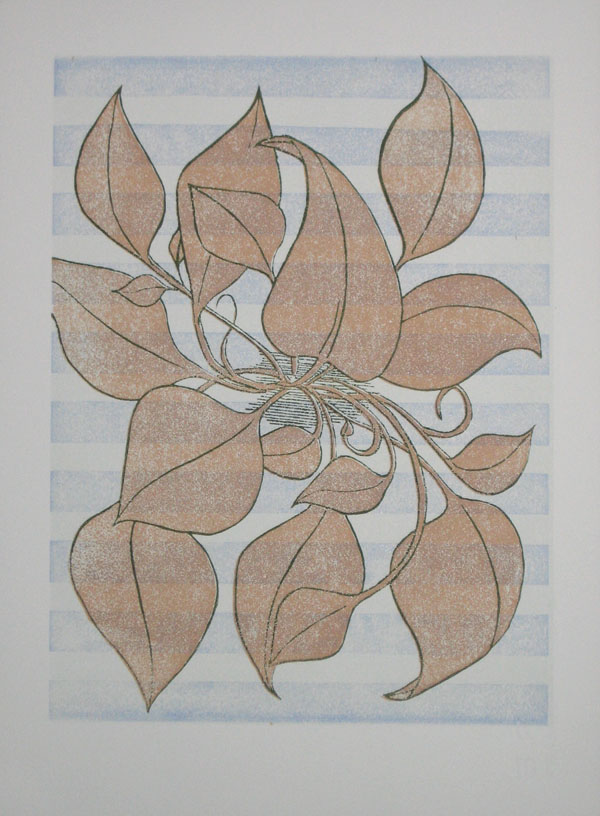
Now the fun begins. I combine this block with some of my other blocks to make some woodblock prints. Here’s a few of the completed prints I finished this weekend that involve Block 5 and Block 6:
If you want on the inside list for the release of these prints, sign up for the Bad Deacon Design newsletter by clicking here.
Tags: 101, Block 5, Block 6, Linoleum Block, Printmaking
Holy Moley!
Those are amazing!
This solves a problem for with one of my blog posts.
Q: Framing. I have a couple of ideas that might help you move these things.
.-= Dave Doolin´s last blog post ..I’ve Just Wasted $53 on Hosting and a Domain, s***, What Now? HELP!? =-.